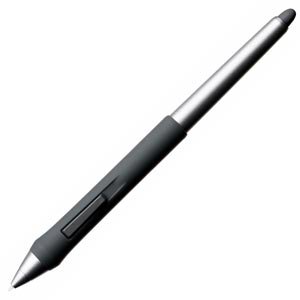
Set the end of the toggle switch closest to the pen’s tip to trigger Photoshop’s “step backward function” Command+Option+Z This is the function you will use most often.
Set top of the toggle switch (in the direction of the ‘eraser’) to trigger the “Option” key. This allows easy sampling of colors from your image when using the Brush Tool by activating the Eyedropper.
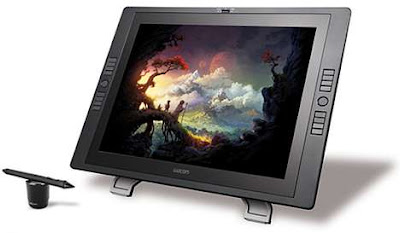
Finally program a touch strip to step between brush sizes (on the left side of the tablet if you hold the pen in your right hand)…one direction of the strip should be set to “[” the other to “]” (left and right hard brackets). By sliding your finger across this touch strip you can adjust brush, eraser, and many other tool sizes on the fly.

Add shadows on separate layers with a dark ‘soft’ brush (0% hardness) set to opacity of 20%…adding more shadow with each stroke.
That’s basically it. Be sure to work in layers and Smart Objects (lines, shadows, highlights, etc on different layers; finished characters and references in Smart Objects)…use the lasso tool and jump selction function ( J+Shift+Command) to cut a selection into its own separate layer.
It is very rare that you would ever need any other brush than the standard default hard brush with “template pen pressure.” Most other settings and exotic brushes will waste your time. Most concept artists draw with standard photoshop brushes. Feng Zhu for example spent years using only the default hard round brush — now his favorite is the default chalk brush with opacity turned off. Nothing fancy. If you want a special effect, draw it. ; )
Try to work in 16:9 ratio canvas dimensions to condition your composition skills. For storyboarding these settings will keep file size manageable: 960×540 px, 72 dpi, 8 bit greyscale ; )
